Posted on Leave a comment

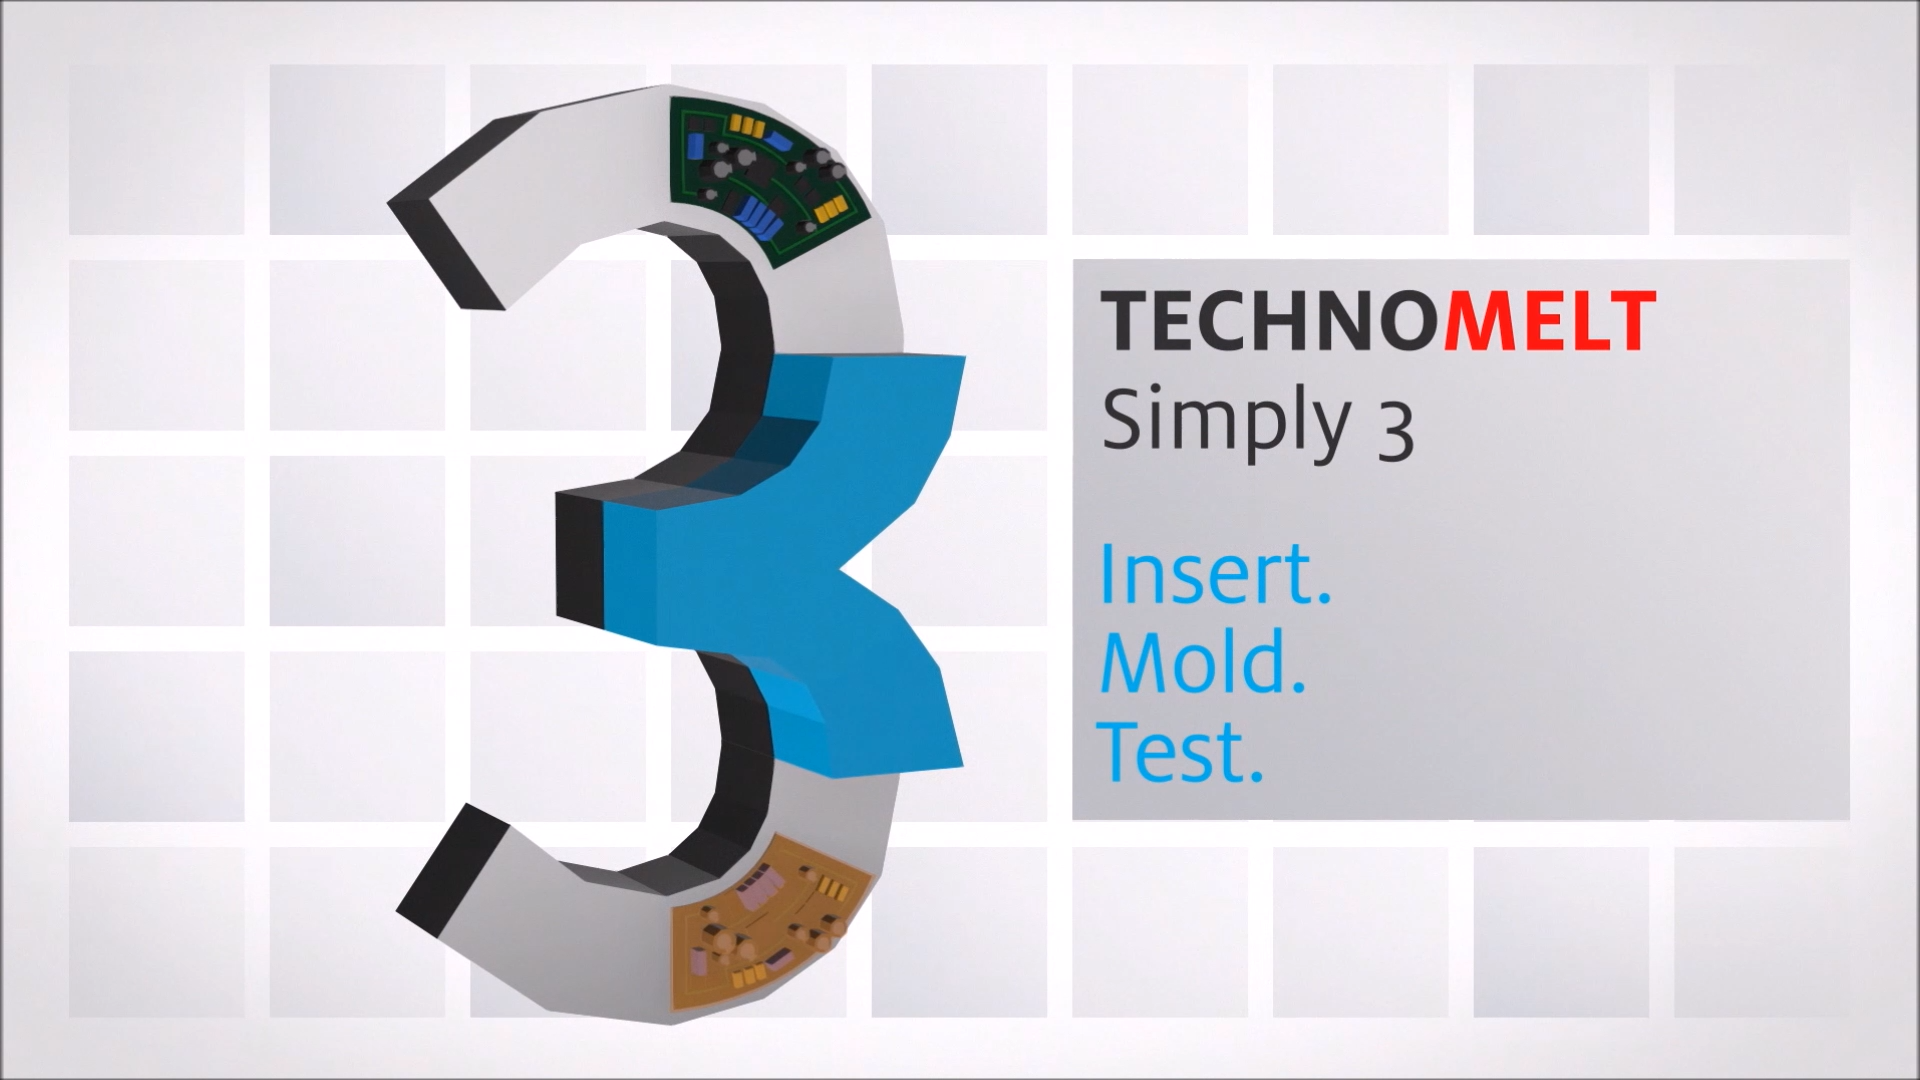
Video – TECHNOMELT Simply 3 Low Pressure Moulding

videoframe 16615

Check out this video from Henkel about how and why you should use TECHNOMELT

Interested in this product?

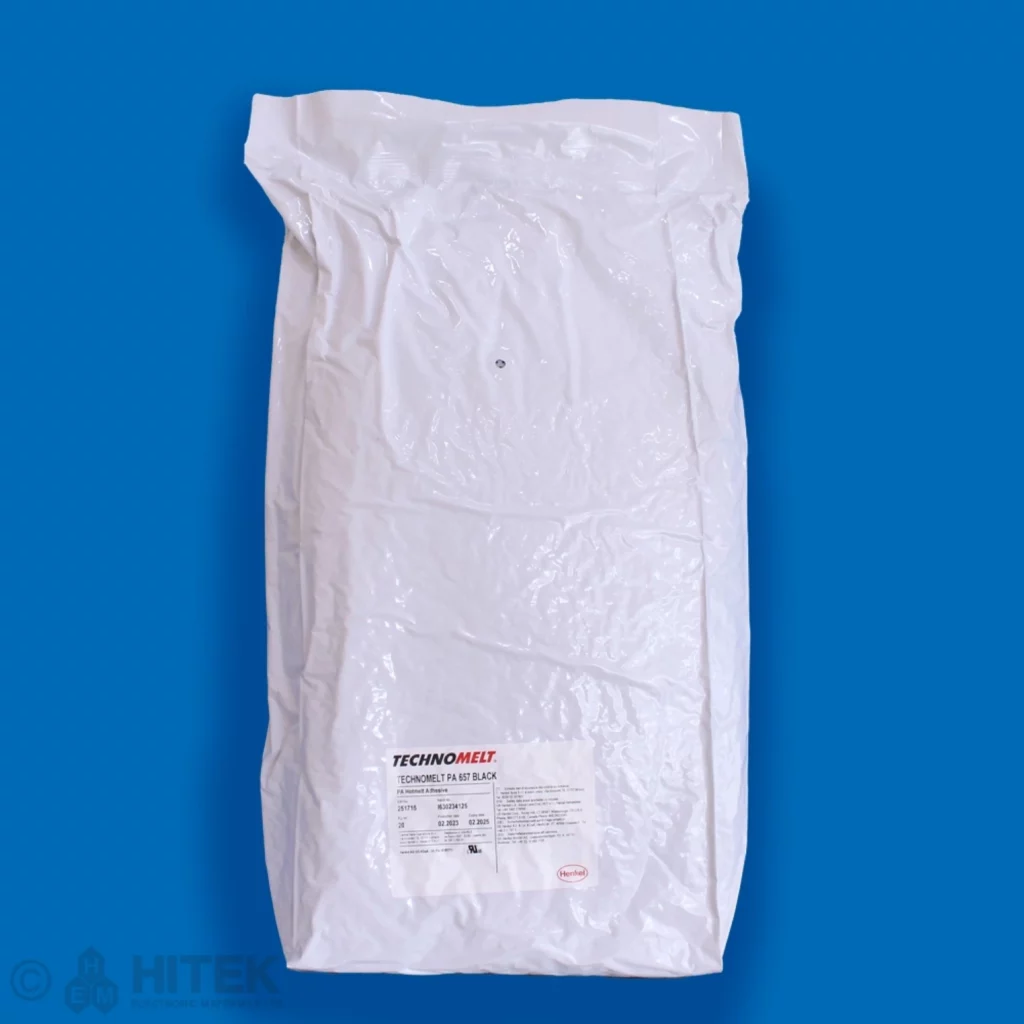
TECHNOMELT is available through our online store, as a 20KG bag option. If that isn’t the right version for you, don’t fret, enquire below!

Please enable JavaScript in your browser to complete this form.
Name
Marketing Communications Preferences
By ticking the above, you consent to HITEK Electronic Materials Ltd. collecting and processing your personal data for the purpose of sending you marketing communications. You can withdraw your consent at any time by clicking the unsubscribe link in the footer of any email you receive from us or by contacting us at hello@hitek-ltd.co.uk. For more information on how we use and protect your data, please read our Privacy Policy.
Posted on Leave a comment

Case Study – Heat-Dissipating Gel Delivers Critical Cooling for 5G Infrastructure Systems

Screenshot 2025 06 03 153236

Take a look below at a case study from Henkel about how they utilised BERGQUIST LIQUI-FORM TLF 6000HG as a 5g solution.

Interested in this product and the solution that is provided? Enquire here

Please enable JavaScript in your browser to complete this form.
Name
Marketing Communications Preferences
By ticking the above, you consent to HITEK Electronic Materials Ltd. collecting and processing your personal data for the purpose of sending you marketing communications. You can withdraw your consent at any time by clicking the unsubscribe link in the footer of any email you receive from us or by contacting us at hello@hitek-ltd.co.uk. For more information on how we use and protect your data, please read our Privacy Policy.
Posted on Leave a comment

Technical Tips – Henkel nomenclature

CORPORATE Product Acronyms

Struggling to understand the Acronyms used on or around Henkel products? Take a look at the table below for a list of different acronyms alongside an explanation as to what they mean.

AcronymExplanation
ABPAblestik ABP stands for “Advanced Bonding Paste.” This type of adhesive is designed for high-performance die-attach applications, offering excellent thermal and electrical conductivity.
(BE)Made in Belgium, dropped in favour of W1 during renaming in 2012-15.
CAAblestik CA = Conductive Adhesive.
CEAblestik CE = Conductive Epoxy.
CTECoefficient of Thermal Expansion – measures how much a material changes in size due to temperature changes.
ECFAblestik ECF = Electrically Conductive Film.
FTThe “FT” in Stycast 2850FT stands for “Filled thermally.”
GTThe “GT” in Stycast 2850GT stands for “Gritty Thermally conductive.” It contains hard and gritty fillers that enhance its thermal conductivity and mechanical properties.
ICPThe “ICP” in Ablestik ICP stands for “Isotropic Conductive Paste.” This type of adhesive provides electrical conductivity in all directions, making it suitable for applications such as surface-mount technology (SMT) assembly and die-attach processes.
KTThe “KT” in Stycast 2850KT stands for “Kool Thermally conductive.” This product is a two- component, room temperature curing epoxy encapsulant designed for high-voltage components and replacing heat sinks.
LMIAblestik 84-1 LMI stands for “Low Mobile Ion,” indicating that the adhesive is designed to minimize the presence of mobile ions, which can be crucial for maintaining the reliability and performance of electronic components.
MMThis indicates that the product is designed to be used with meter/mix dispensing equipment.
MTThe “MT” in Stycast 2850MT stands for “Medium Thermally conductive.
PCThe “PC” in Stycast PC stands for “Printed Circuit.” This indicates that the product is designed for use with printed circuit boards (PCBs), providing environmental and mechanical protection through conformal coatings.
QMIThe “QMI” in Ablestik QMI stands for “Quartz Micro-Insulated.” This indicates that the adhesive is designed with quartz fillers to provide excellent thermal and electrical conductivity.
SIStycast 1090 SI stands for “Syntactic Insulating.” This product is a lightweight syntactic encapsulant designed for applications where high compressive stress is applied to encapsulated circuitry, such as in deep ocean work.
W1The first formulation of this product to be made in Westerlo, Belgium. Mainly used in the European markets. This arises from REACH and RoHS regulations which meant Henkel had to reformulate some materials made elsewhere (USA/Asia) to prevent them from being excluded in Europe.
WLVThis stands for “Wafer Level Version,” indicating that the adhesive is optimized for wafer- level applications.

Posted on Leave a comment

Technical Tips – Surface Preparation For Epoxies, Acrylics and Silicones

tech tips Surface Preparation for Epoxies Acrylics and Silicones

Surface preparation is a critical aspect in the use of epoxy resins. In order to create an effective bond, the surface must be clean. Dirt, oil, moisture and weak oxide layers prohibit good adhesive bonding, and must be removed through proper surface preparation methods. Otherwise, the adhesive will bond to these boundary layers rather than to the substrate. Surface preparation enhances the quality and permanence of a bonded joint by performing one or more of the following functions:

  • Removing contaminants
  • Controlling absorbed water
  • Controlling oxide formation
  • Poisoning surface atoms that catalyse polymer breakdown
  • Matching the substrate crystal structure to the adhesive molecular structure

Sufficiently clean surfaces can usually be obtained by thorough one of the following

  • Surface degreasing with a solvent
  • Wire brushing
  • Sand blasting

This is usually adequate for most metals and plastics. Once the surface has been cleaned, precautions should be taken to eliminate contamination of the cleaned surface.

The following surface preparations have been recommended in the literature. Where appropriate, they are followed by a neutralising rinse, a water rinse and an oven dry.

Ferrous metals

Sand blasting with grease free sand or wire brushing has been found generally satisfactory for iron. In some cases
chemical cleaning solvents can be used

Non-Ferrous metals

Aluminium and aluminium alloys:

Degrease and dip for 10 minutes at 70°C in the following solution (parts by weight):

  • 66 pbw Sodium dichromate
  • 666 pbw 96 % sulphuric acid
  • 1000 pbw Water

The solution should not be overheated, since at temperatures above 70°C there is a re-arrangement of the
surface of the aluminium, which leads to poor bonds. The sodium dichromate etch gives a controlled and
porous layer of aluminium oxide on the surface. If this film is exposed to air too long, the film will become too
thick and this will lead to poor adhesion. Therefore, material should be bonded within 2 hours after the
etching.

Copper and copper alloy

Etch for 1 to 2 minutes at room temperature in the following solution (parts by volume):

  • 15 pbv 42% ferrite chloride
  • 30 pbv concentrated nitric acid
  • 197 pbv water

Gold

Degrease and roughen surface

Lead

Degrease and abrade with emery cloth

Nickel

Etch 5 seconds in concentrated HNO3.

Zinc and Zinc alloys

Degrease and abrade with emery cloth. Apply epoxy resin immediately. Material can also be etched by using
an etch solution (20 parts concentrated HCl/80 parts water) 2 to 4 minutes at room temperature.

Other Surfaces

Thermosetting Plastics

Clean the surface with a solvent, followed by a light sanding to remove surface contamination. This treatment has
been found satisfactory for diallyl phthalate, epoxy, phenolic, polyester, polyurethane, and urea-formaldehyde
resins.
For some plastics a plasma treatment can be used to obtain good adhesion. Specialised companies should be
contacted to receive detailed information.

Carbon

Degrease, abrade with fine emery cloth and degrease.

Ceramic

Degrease, abrade with carborundum/water slurry.

Glass

Solvent cleaning with trichloroethylene.

The degree to which substrates must be prepared depends upon several factors including the ultimate bond strength required, the degree of performance needed, the service environment, the amount of contamination on the substrate and the type of substrate.
For example, for plastics surface preparation can be more effective than for metals, as most are contaminated with either mould release or wax which must be removed prior to bonding.
In encapsulation applications, it is important that good bonding is obtained with the surface of the substrate of the housing. Bond strengths and bond performance depend greatly on the type of substrate which is in contact with the encapsulant. The main purpose of surface preparation is to ensure that adhesion develops in the joint between substrate and encapsulant, in order to minimise moisture absorption and to improve chemical resistance at this
interface.

Want an offline copy? Download it below!

Posted on Leave a comment

Technical Tip – Degassing Adhesive Products

tech tips degassing adhesive 01 scaled

Although most, if not all, suppliers of formulated Epoxy and Polyurethane materials manufacture products
under vacuum. This still can cause some undesirable trapped gases that appear while using these compounds.

The most common causes of bubbling

  • Air inclusion during the mixing of the resin and hardener together.
  • Air trapped in moulds.
  • Air trapped due to improper casting/moulding techniques.
  • Air introduced by suction as the material shrinks or due to a leaking tool.
  • Trapped residual solvent vapours from certain types of mould releases.
  • Volatile components being stripped out of the materials while casting under vacuum.
  • Gases generated during the reaction (hardening) process.
  • Gases formed during improper storage (moisture contamination etc.)
  • Gases introduced through pressurized systems.
  • Air from improperly de-aired resin and/or hardener.

How to solve/prevent the issue?

The first and most important step in eliminating the problems caused by bubbles is simply taking care not to introduce air while handling the materials. If it is unavoidable to introduce air during mixing, such as during mixing by hand, it is highly desirable to remove the trapped gases under vacuum before using the mix. Gaseous bubbles trapped in a liquid, although initially microscopic in size, will expand when heated and can grow to become large enough to cause problems.
Polyurethane products are moisture sensitive. In fact they crave moisture and should not be mixed during days when the humidity is high. Urethane resins and hardeners should be protected from picking up moisture by applying a layer on Nitrogen on top of the material in the containers. Mixing urethane resin and hardener components together is best achieved under vacuum or at least under a blanket of Nitrogen. Moisture contaminated polyurethane products will exhibit many tiny bubbles on the surface or, in extreme cases, will rise to produce foam. These bubbles are next to impossible to remove.

As a rule, epoxy compounds are less moisture sensitive, except for certain hardeners. Moisture contaminated epoxy hardeners can be usually recognized by the formation of a crust around the edges of the container.

Moisture contaminated epoxy hardeners, depending on the formulation, will react faster than expected with the resin.
Bubbles tend to rise to the surface of the material and will, under ideal circumstances, given enough time,
will eventually release from the liquid. Most applications do not allow for the required time or the proper
conditions for products to self de-air, vacuum must be applied to speed the removal of trapped gases from
the mix

What can affect the process of removing gasses?

  • The viscosity of the mix: The higher the viscosity the more difficult it is to remove gases.
  • The surface tension of the materials: Can be reduced by heating and the addition of surfactants
  • The temperature of the epoxy or urethane mix: Heating the material will reduce the viscosity. Be sure to consider the pot life and gel time before heating any mixed materials.
  • The amount of epoxy or urethane material being de-aired at one time:
    • The depth to surface ratio is important.
    • The larger the surface that is exposed to the vacuum the better.
  • The lower the amount of product the rising bubbles must travel through the better. Agitation: Agitation (mixing) during the de-airing process (while under vacuum) will speed the removal of air considerably.

Alternative methods to remove or minimise the impact of trapped gasses

  • Thin film de-airing: The material is exposed to vacuum in a thin film. This is probably the best and fastest method of removing trapped gases.
  • Centrifugal force: Trapped gases may be forced out of the product by centrifugal forces by spinning at high speeds. This is not a widely practiced method and has limited possibilities in common applications.
  • Pressure: The application of pressure during the gelation process will reduce the size of the bubbles. The amount of pressure necessary will have to be determined by experimentation. Depending on the component configuration it is not uncommon to use 80 to 100 psi.
  • Vibration: Placing the mixture on a vibrating table will assist the bubbles in travelling to the surface.

How to produce bubble free epoxy or urethane castings

  • The least number and amount of volatile ingredients.
  • The lowest possible viscosities (individual components and mixed)

Hand Mixing

  • De-air each component containing fillers individually.
  • Do not use violent motion during mixing and scrape the sides of the container to insure a thorough mix. De-gas the mixture under vacuum if possible.
  • If vacuum is not available, allow the mix to stand for a period of time to allow the coarse
  • bubbles to escape prior to pouring (don’t forget to consider the pot life)

Mix/Dispense Equipment

  • Take precautions to minimize air entrapment while topping up the storage tanks. Slow, steady pouring into one spot will minimize air inclusion. De-air the materials in the storage tanks if possible.
  • Keep the fittings, valves and dispense pistons in good repair. Defective components will allow air to be sucked into the dispense lines.
  • Cavitations and lead/lag problems can be sources for air inclusions.

Pouring

  • Pour slowly into one corner of the mould or container. Pouring slowly will allow the rising material to push the air ahead of it minimizing air entrapment.
  • Pour with the least amount of turbulence.

Curing

  • If possible, de-air the poured assembly prior to cure. This step is not necessary for parts involving small volumes. Large mass castings or castings with complicated shapes, conducive to air entrapment, should be de-aired prior to cure for best results.
  • Establish and use the appropriate temperatures that result in slow, even gelation. Provide a enough reservoir of cool material to replenish the shrinkage that takes place during gelation and cure.

Other Suggestions

  • Hydraulic hose fittings on vacuum lines allow for leak free connections and better vacuum.
  • 29” Hg of vacuum is sufficient for most applications.
  • 2 mm of vacuum has been found sufficient for high volume production.
  • Always use a large enough container to allow the material to rise under vacuum.
  • It may be helpful to add a drop or two of a suitable surfactant.

Precautions

Almost all formulated epoxy and urethane materials contain at least some volatile ingredients. These ingredients are an essential part of the product and will start flashing off under vacuum. This is evidenced by the fact that the mix being de-aired never seems to be totally free of bubbles no matter how long it is vacuumed. Care should be taken not to vacuum strip the material. In most cases vacuum at 29” Hg for 5- 10 minutes will sufficiently de-gas the mixture.

Download a copy of the technical tips below

Posted on Leave a comment

Technical Tip – Shelf Life, Pot Life Working Life and Gel Time

tech tips life scaled

Have you ever read a technical datasheet and questioned what Shelf, Pot and Working life means?

These terms appear frequently in the properties sections of a products TDS, and offer some vital information as to how long a product can be used for.

What is Shelf life?

As it suggests, Shelf life is the length of time from the date of manufacture (or packaging) during which the material will be under warranty to behave according to the technical data sheet, assuming the storage conditions and correct application procedures have been met. This is usually found on the product label, which may either state an expiry date (the date when the shelf life runs out) or a manufactured date (in which case you have to find out the shelf life from a data sheet to calculate the expiry date).

shared image 5

Imagine buying something with a use by date from a store. How many times have you got home, put it in the fridge or freezer, left it longer than you thought you would then discover it two or three weeks after the use by date. Do you just throw it out? There are choices:

  1. Throw it out, accept that it is money wasted and take the hit.
  2. Defrost it, cook it, try it. Often the food is fine. This would be a self test.
  3. Take it back to the store, hope that the manager has enough good will to exchange it, but realise that he/she has no obligation to do this.

Materials do not become instantly ineffective at midnight on the day the use by or shelf life passes. Nevertheless, material suppliers must draw a line in the sand. with the benefit of expert formulation knowledge and extensive life testing, we know how long the products can be safely guaranteed. After the expiry date, the materials can be used, but at the complete risk of the user.

We help our customers by making sure we have very strict stock rotation on our premises, on a rigid FIFO basis, and with optimal storage conditions. We balance the needs of having stock for next day delivery against the loss of shelf life whilst sitting on our shelves. HITEK deliver with as much remaining shelf life as we can.

What is Pot Life?

Pot life is a data point defined as the amount of time it takes for an initial mixed viscosity to double. Timings start from the moment the product is mixed and is generally measured at room temperature. Adhesives which require elevated temperatures to cure, or exhibit high thixotropy, may need to be treated differently. Many of these thermoset materials will generate heat (exotherm) during the cure process, and so the temperature will increase during curing, and since this exotherm is related to the mixed mass – the more you mix, the shorter the pot life.

What is Working Life?

Working life, is the amount of time a mixed material remains low enough in viscosity so that it can still be readily applied to a part or substrate of the application, with the appropriate accuracy and tolerance. Working life is application dependent. Size and shape of bond-line, geometry, orientation, and even dispensing methodology will all come into it. As such, there is no standard method of determining working life, except what it turns out to be for your project.

Pot life can act as a guide in figuring out your working life – but some practical experimentation will be useful. Working life is generally shorter than pot life. There are risks in using a material beyond its stated pot life, even if it is still thin enough to apply. If the cross linking has gone too far before application, then adhesion and other physical characteristics may be compromised.